Shopify Express Checkout
Hello Clever's Express Checkout is one of our best features that can help increase customers' engagement and loyalty by providing a Checkout button on your product pages.

To enable the Hello Clever Gateway's Express Checkout feature, please follow the instructions below.
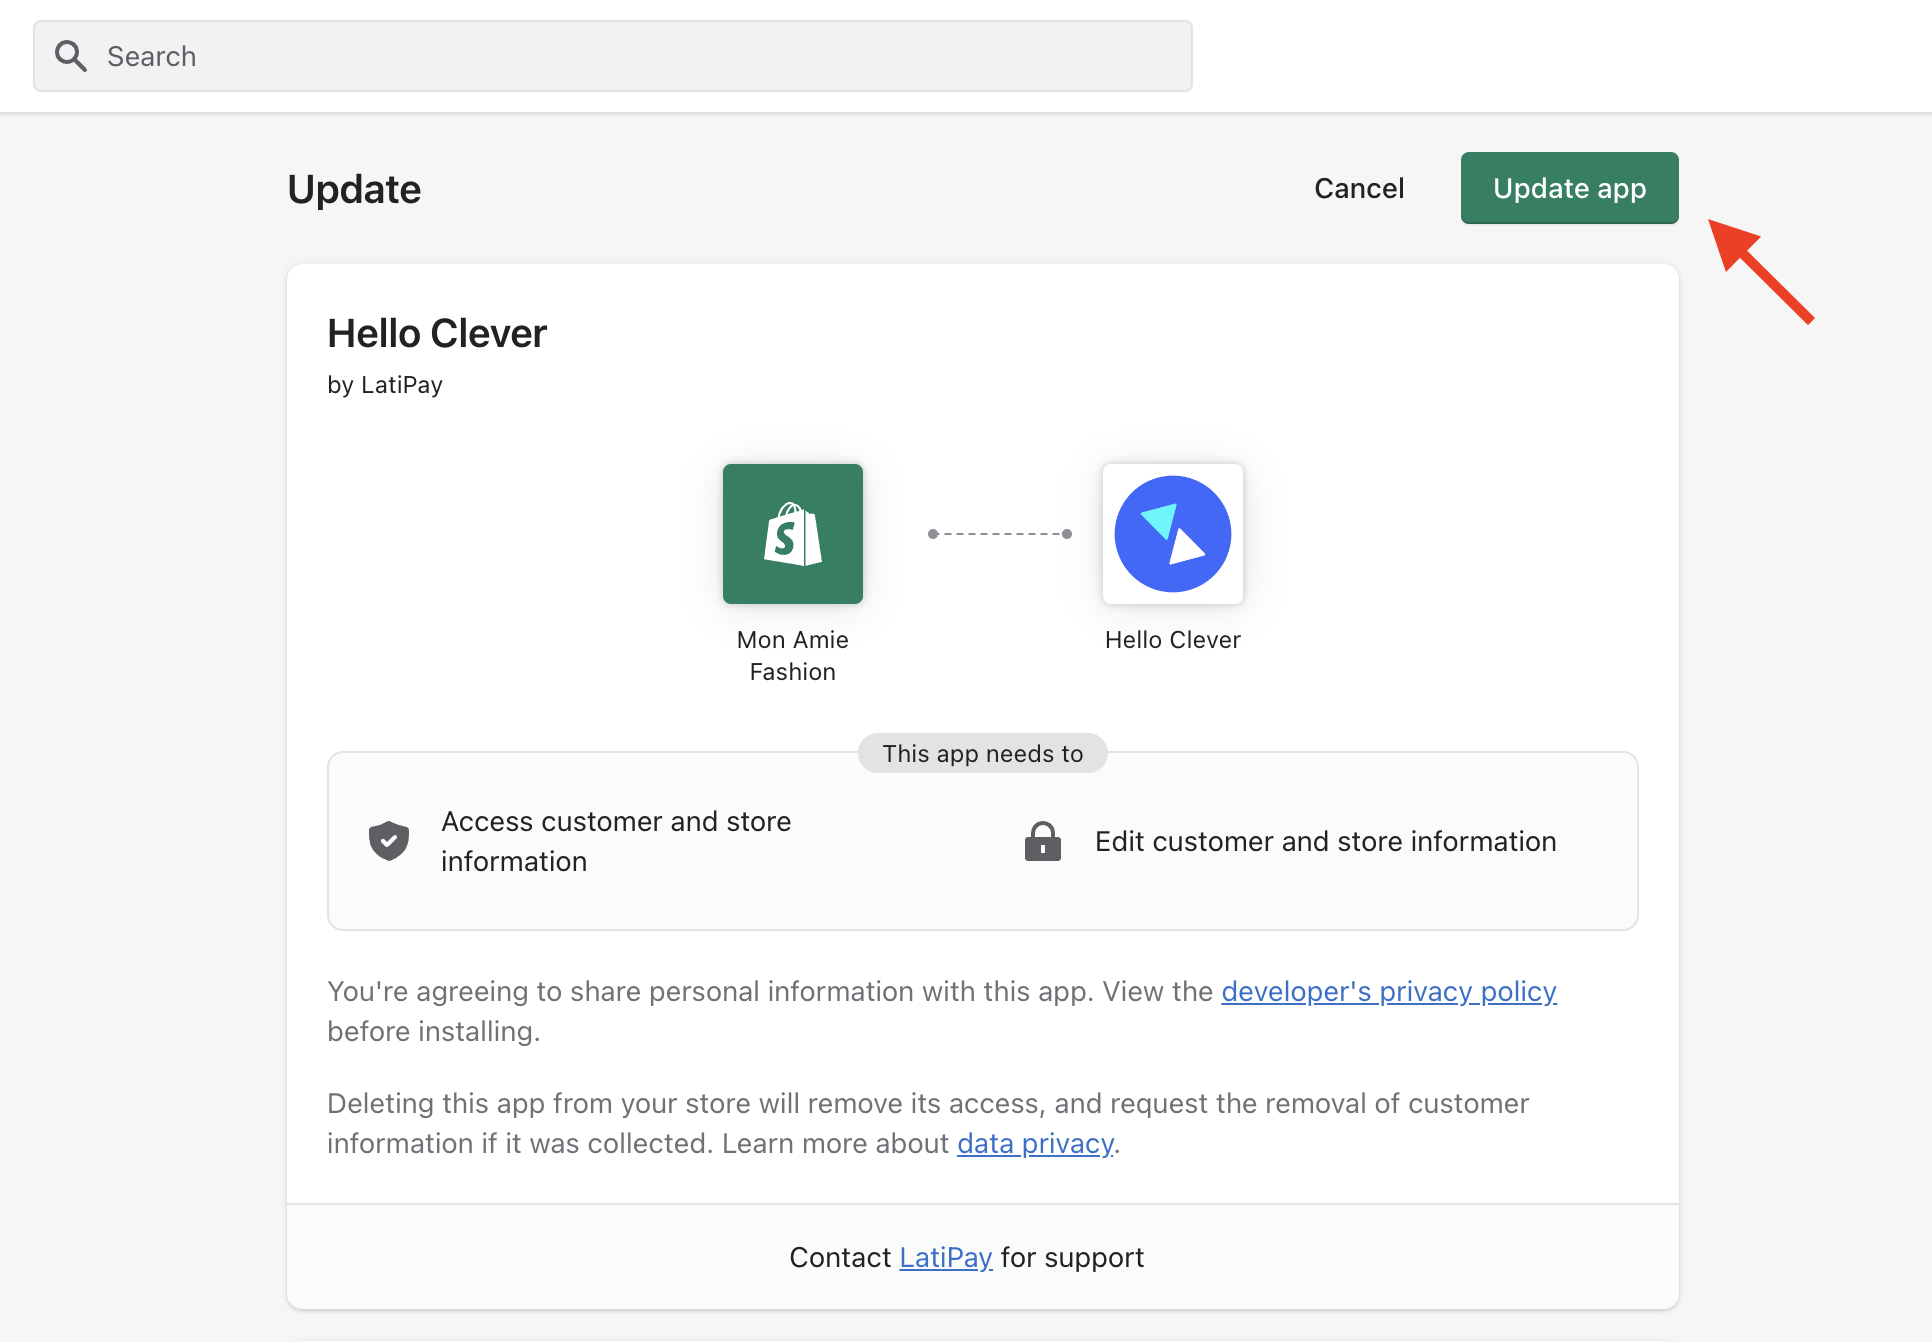
Migrate from Version 1.0 to 2.0
If you are using version 1.x, migrate to version 2.0 before proceeding:
-
Log in to your store as an admin: https://admin.shopify.com/store/{your-shopify-store}. Replace
{your-shopify-store}with your store's Shopify slug. -
Update the Hello Clever app using this link: https://shopify.helloclever.co/?shop={your-shopify-store}.myshopify.com.
-
Update the app permissions to access products and checkout.
-
Ensure the script URL in your
theme.liquidis updated to version 2.0:<script
id="clever_widget_2.0"
src="https://helloclever.co/lib/clever-widget/VERSION/2.0.0/index.js"
async
onload="createCleverWidget()"
></script> -
Copy and paste the codeblock below to your theme.liquid file to trigger Express Checkout button, replace
app-id-xxxxxwith your site's app ID.<script>
async function createCleverWidget() {
const widgets = new CleverWidget({
app_id: 'app-id-xxxxx', // Merchant's app_id
});
await widgets.initialize();
widgets.cashbackBanner({
containerSelector: '.product-form__buttons', // Class or ID selector where merchant want to render the widget.
});
// ----- AND -----
widgets.expressCheckout({
containerSelector: '.product-form__buttons', // Class or ID selector where merchant want to render the widget.
});
}
</script>
<script
   id="clever_widget_2.0"
   src="https://helloclever.co/lib/clever-widget/VERSION/2.0.0/index.js"
   async
   onload="createCleverWidget()"
></script> -
If all the steps above has been set up correctly, you should be able to see express checkout feature on your product page. Please refer to the image below for the sample of the express checkout button.

Enabling Express Checkout Button
Prerequisites
Ensure the Hello Clever app is installed on your Shopify store. If not, follow the installation instructions provided in the Hello Clever Shopify Installation Guide.
Steps to Enable
-
Log in to your Shopify store as an admin.
-
Go to Themes.

-
Click the Customize button.

-
Click Edit Code in the theme editor.
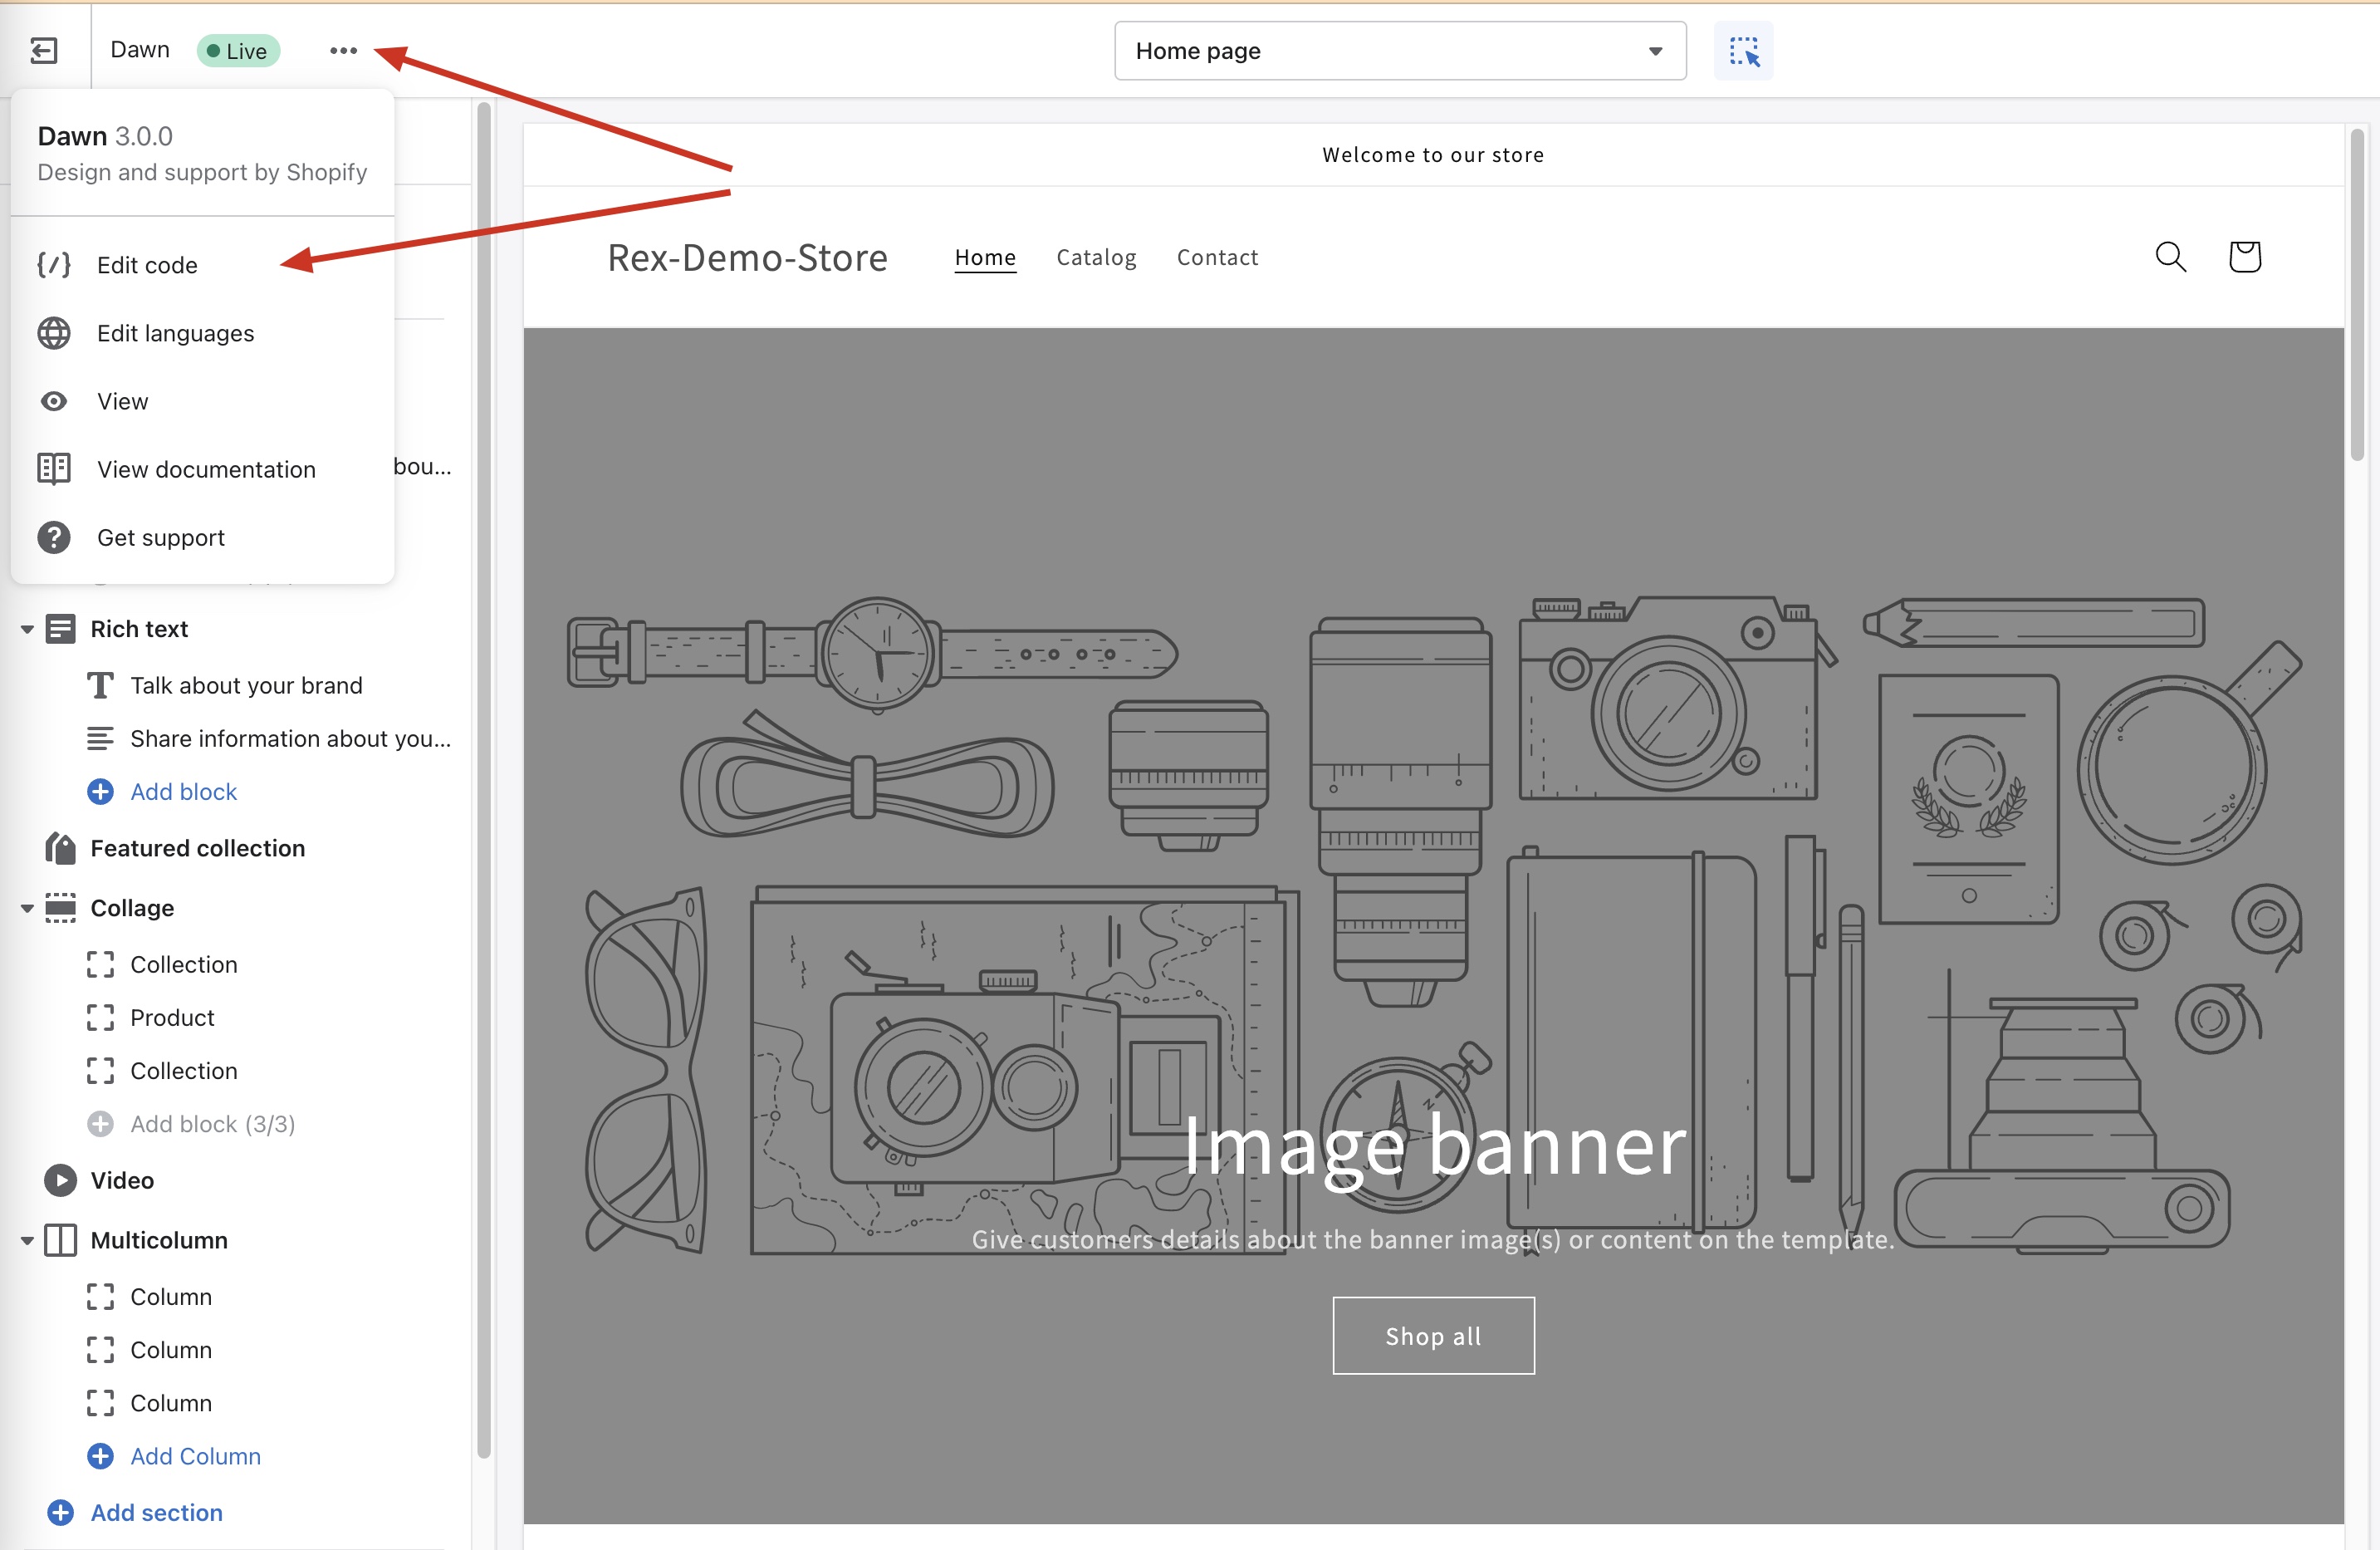
-
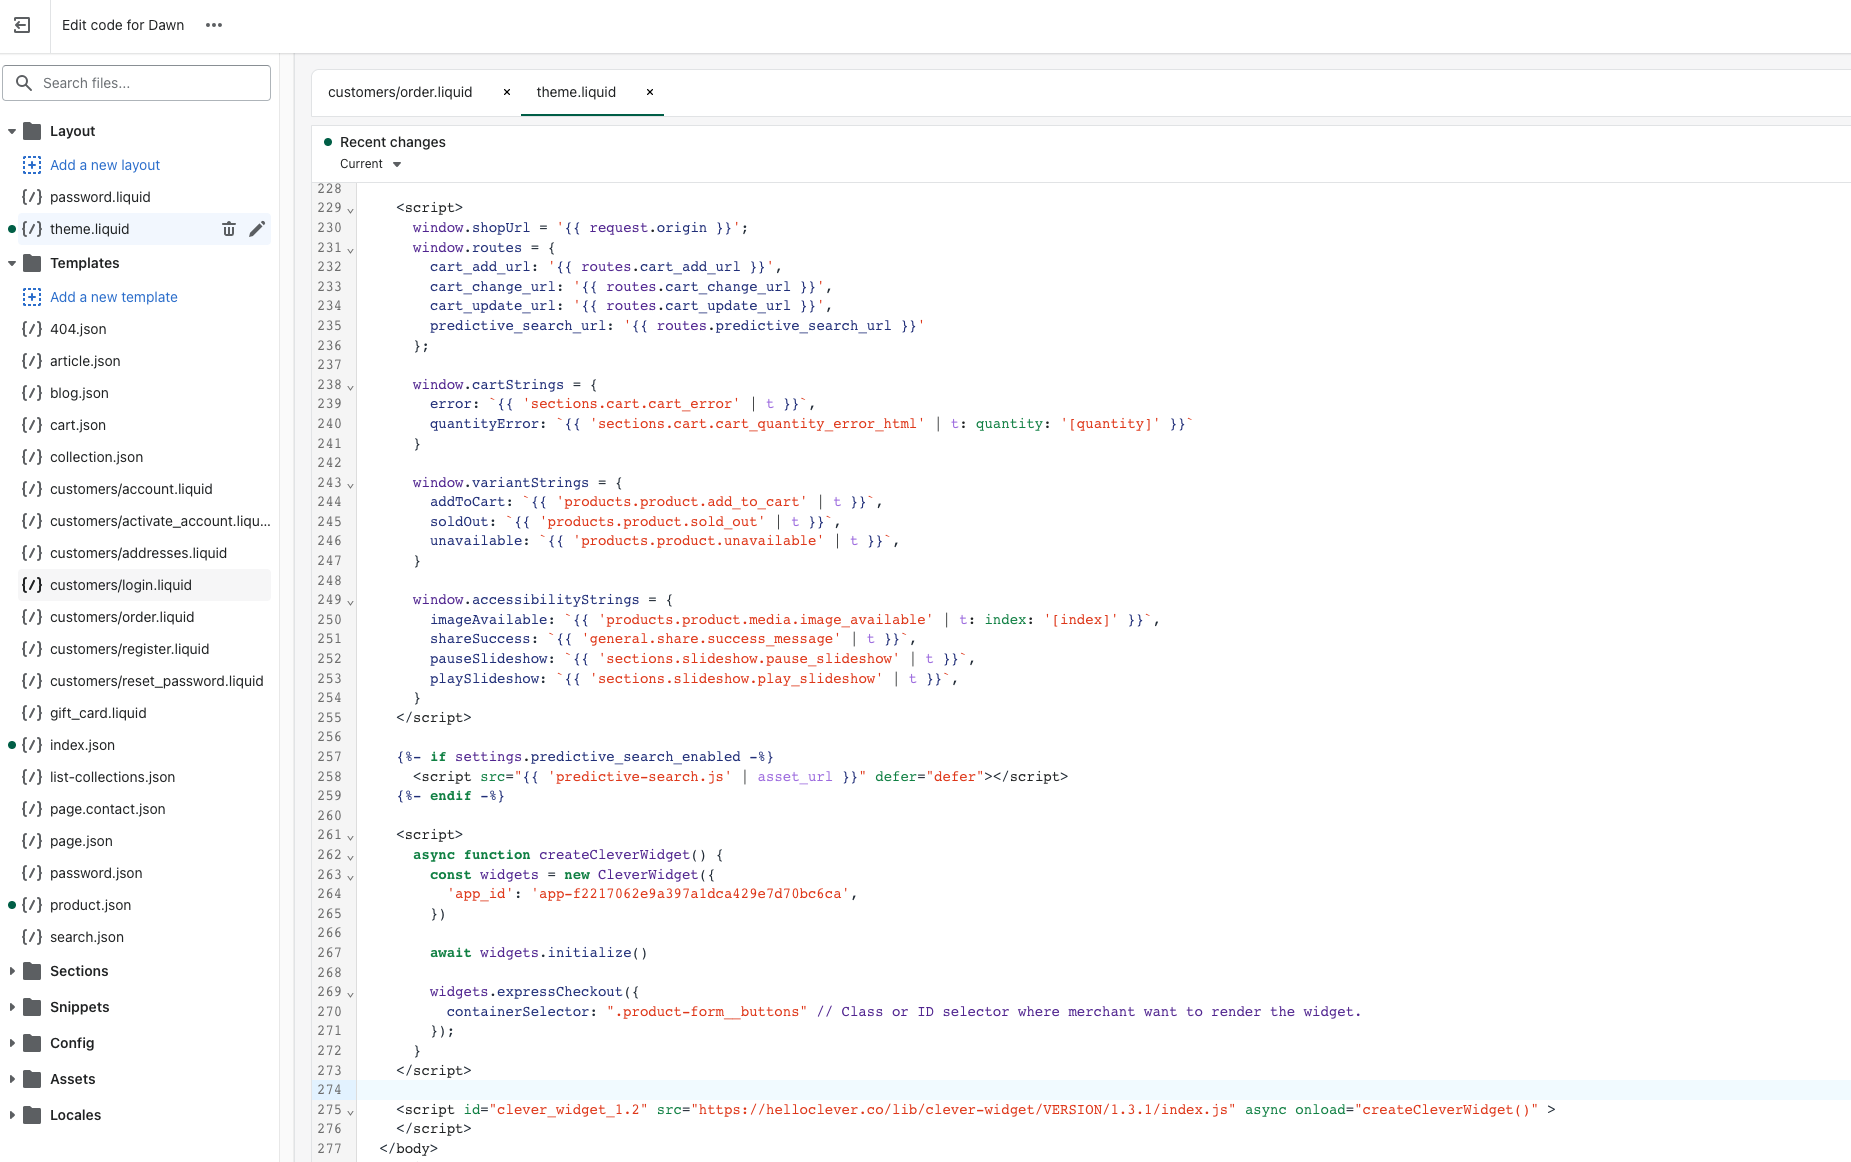
Open the
theme.liquidfile.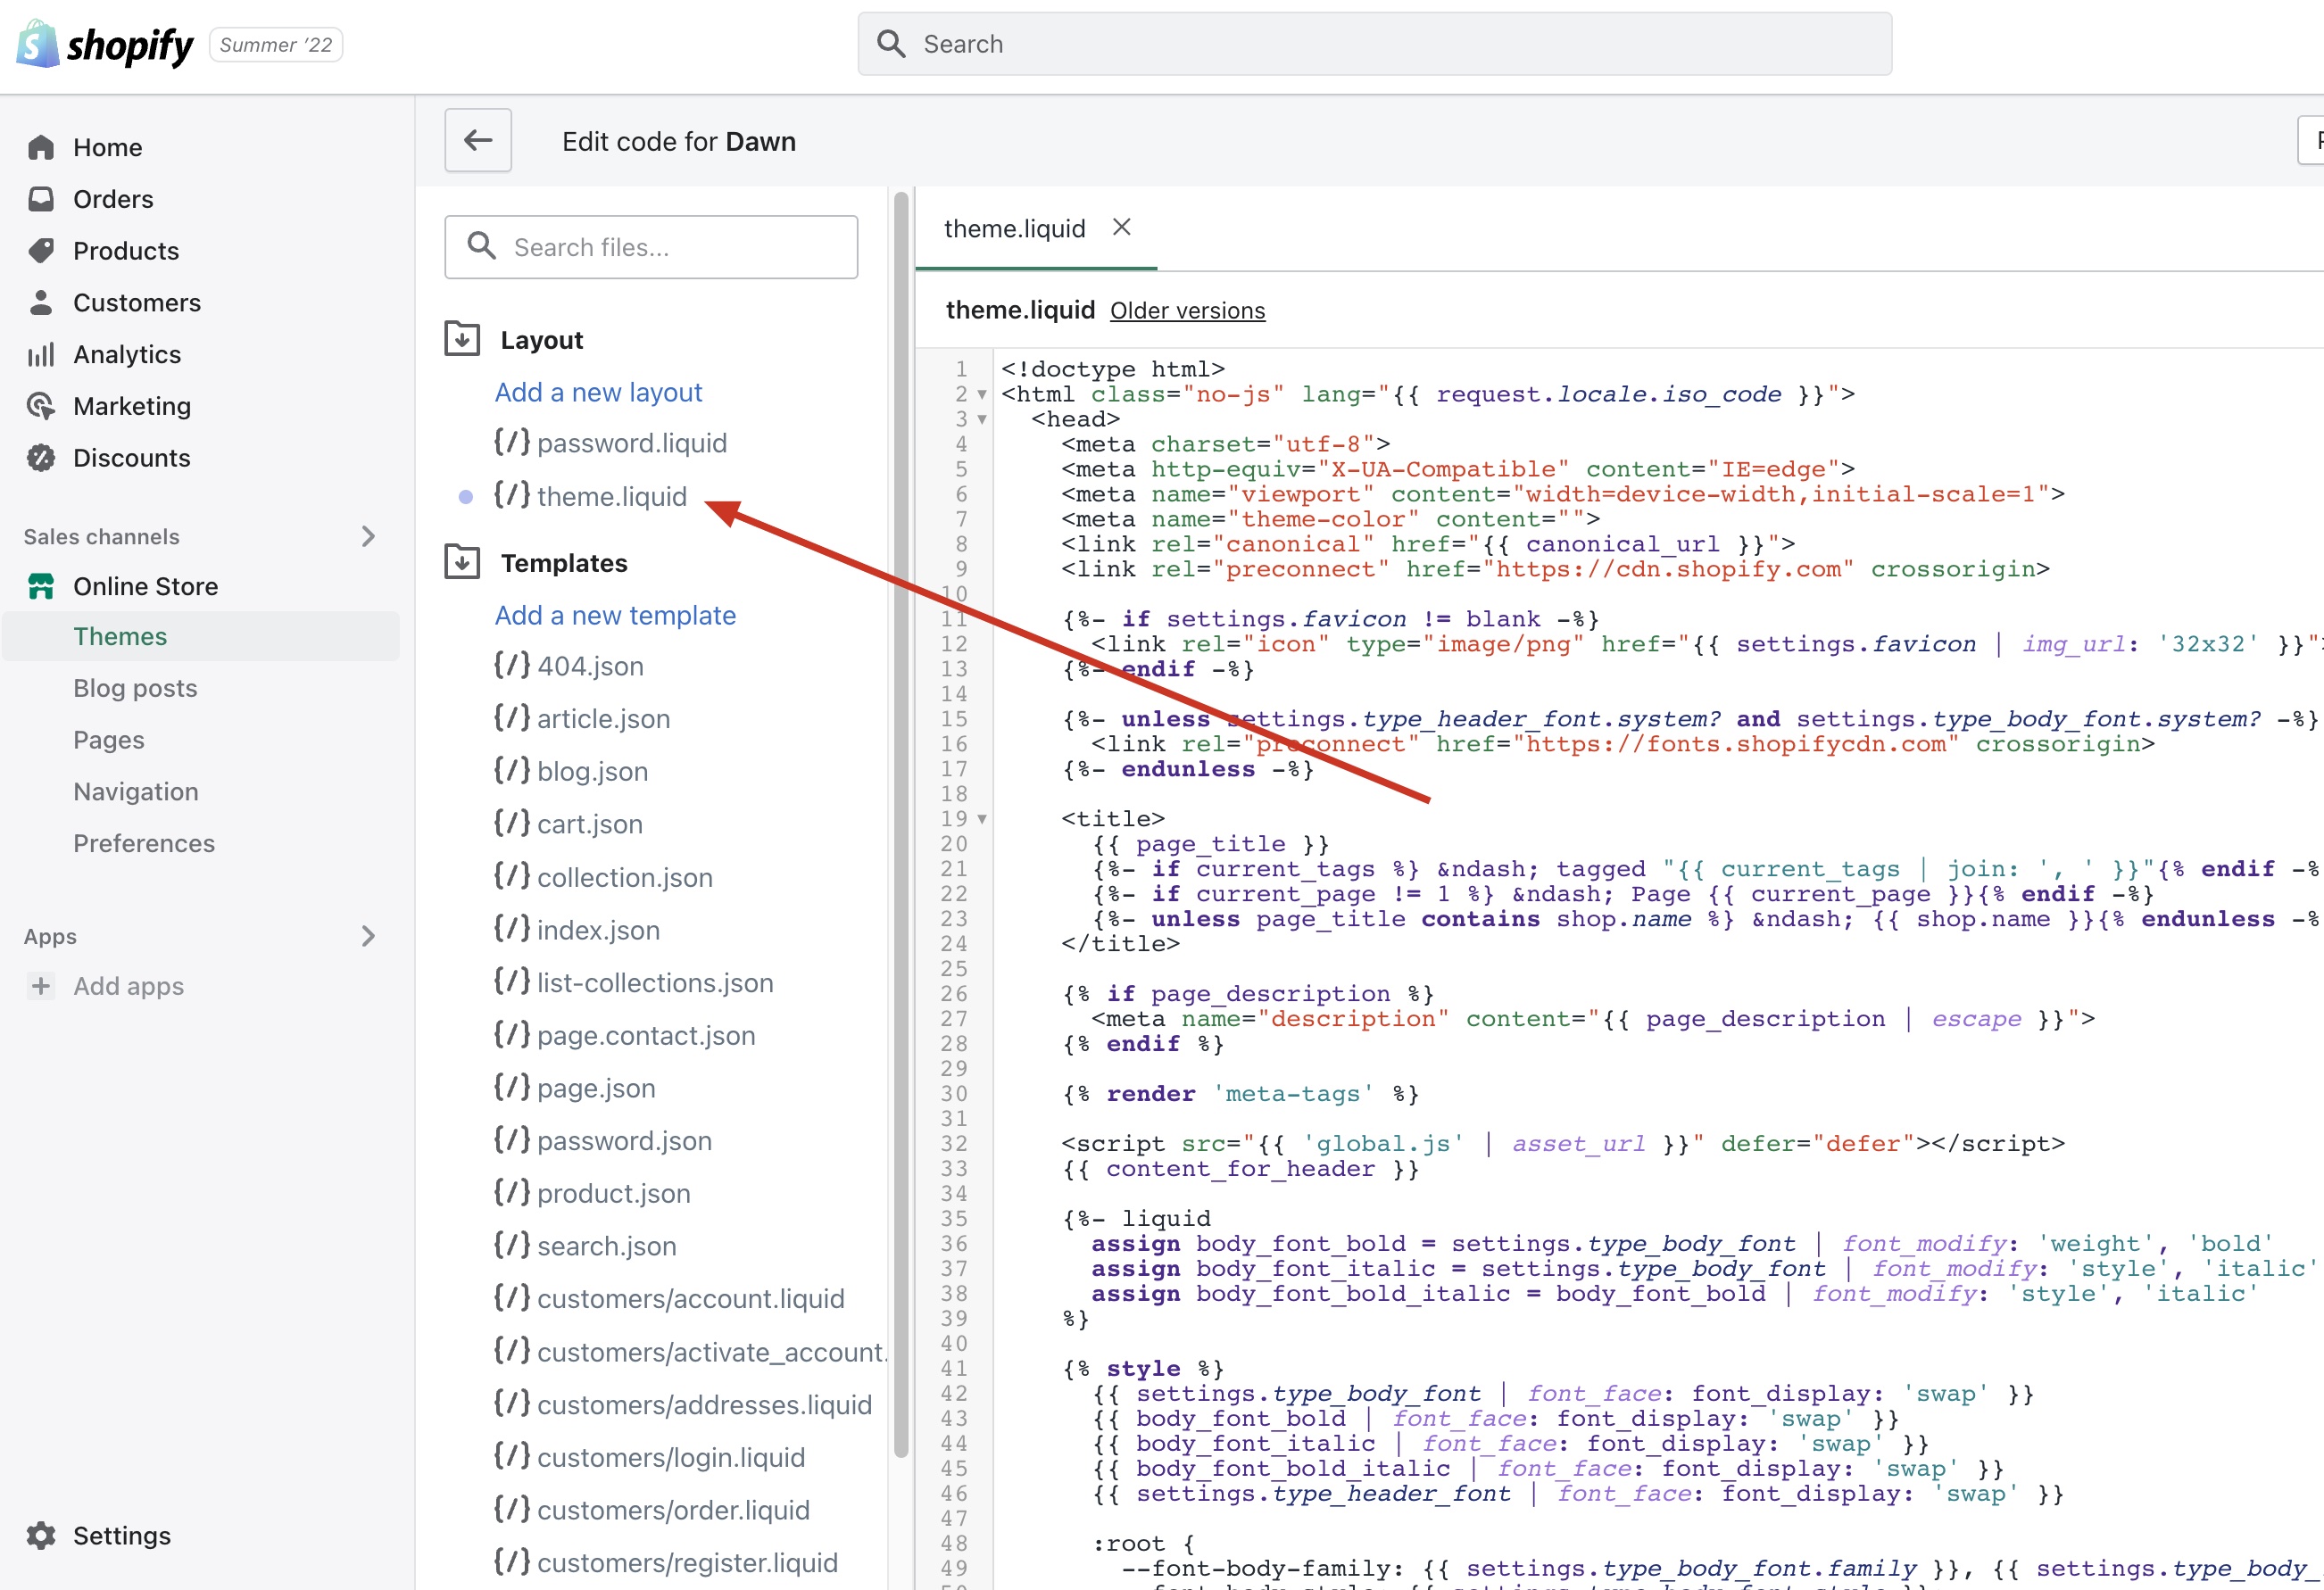
-
Add the following code snippet, replacing
app-id-xxxxxwith your actual App ID:<script>
async function createCleverWidget() {
const widgets = new CleverWidget({
app_id: 'app-id-xxxxx', // Merchant's app_id
});
await widgets.initialize();
// Tagline feature
widgets.cashbackBanner({
containerSelector: '.product-form__buttons',
});
// Express checkout feature
widgets.expressCheckout({
containerSelector: '.product-form__buttons',
});
}
</script>
<script
id="clever_widget_2.0"
src="https://helloclever.co/lib/clever-widget/VERSION/2.0.0/index.js"
async
onload="createCleverWidget()"
></script> -
Save your changes.
Verifying Integration
Check your product page to ensure the Express Checkout button is visible and functioning as expected.
