Enable Express Checkout Feature
Hello Clever's Express Checkout Feature provides a seamless and faster checkout experience for your customers. By enabling this feature, customers can pay directly from the product page, increasing engagement and simplifying the shopping process.
This guide explains how to enable and configure the Express Checkout feature for your WooCommerce store.
Features of Express Checkout
- Enhanced User Experience: Provides a quicker and easier way for customers to complete their purchases.
- Increased Conversion Rates: By reducing friction during the checkout process, you can improve sales.
- Cashback Integration: Display cashback offers directly on the product page, encouraging repeat purchases.
Once enabled, the Hello Clever Express Checkout feature will be reflected on all product pages, providing a seamless checkout experience for your customers.
Example: What Customers Will See
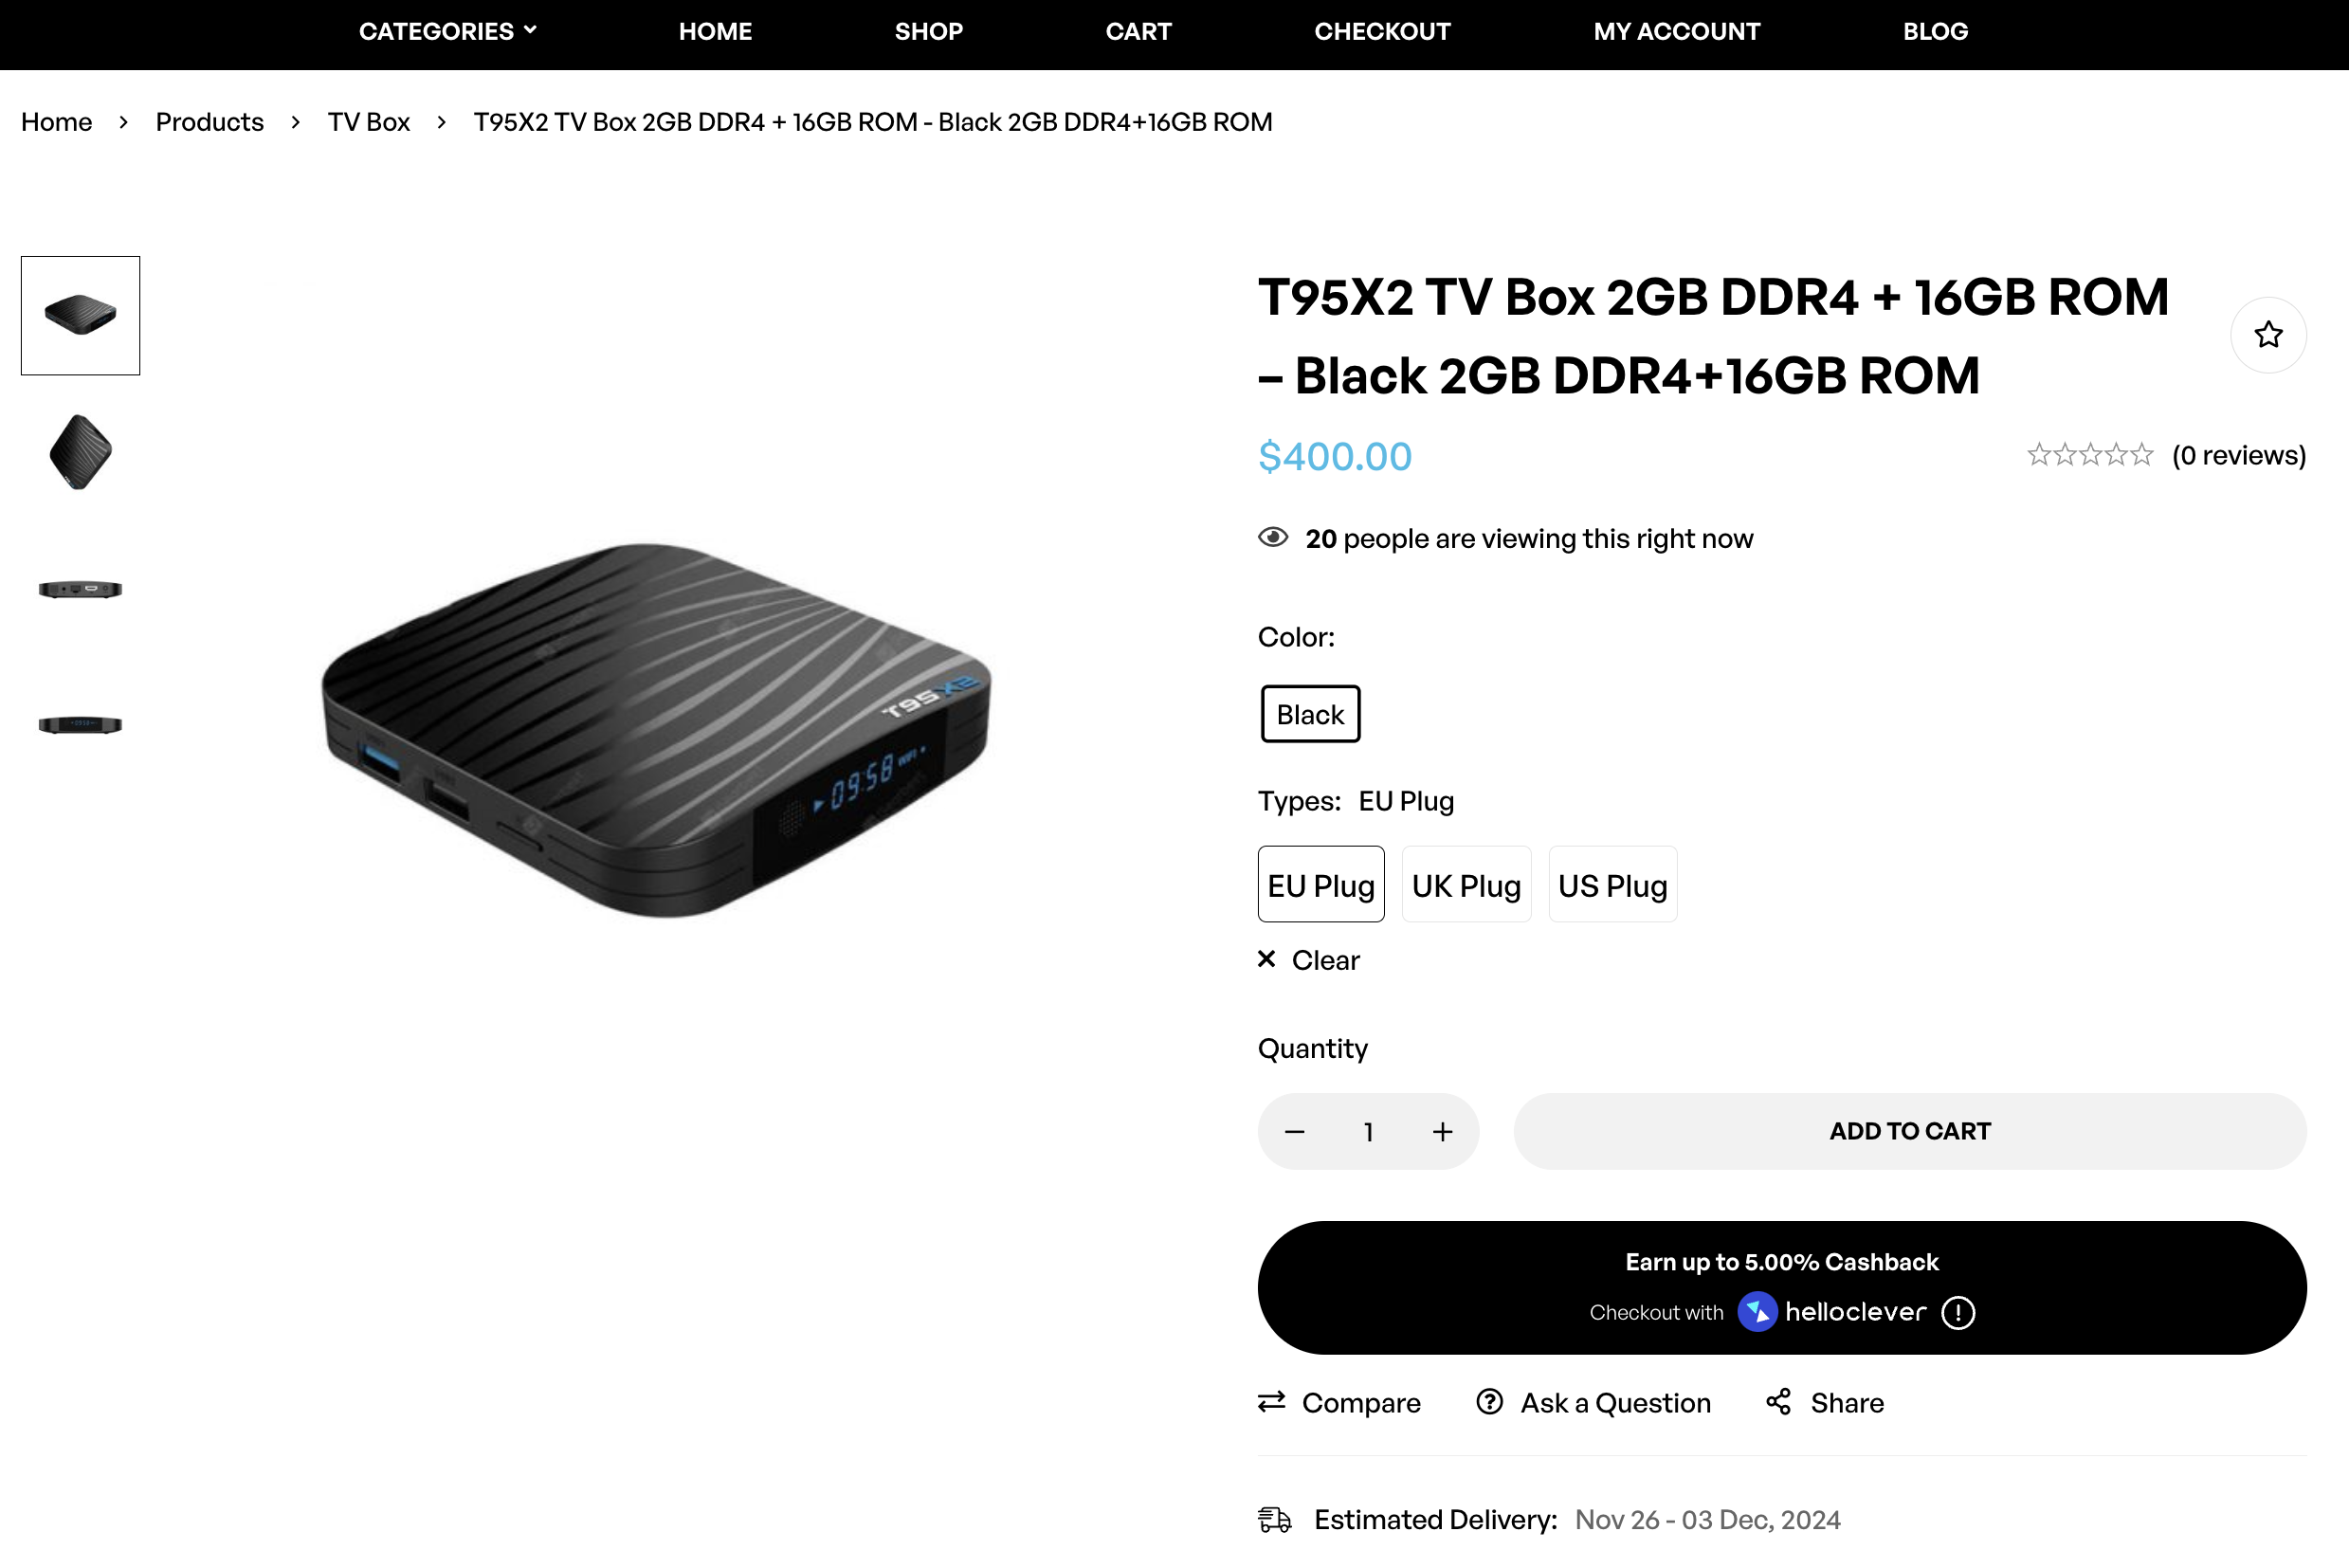
Here’s how the Express Checkout Feature will appear on your store:
-
Product Page with Cashback Display:
-
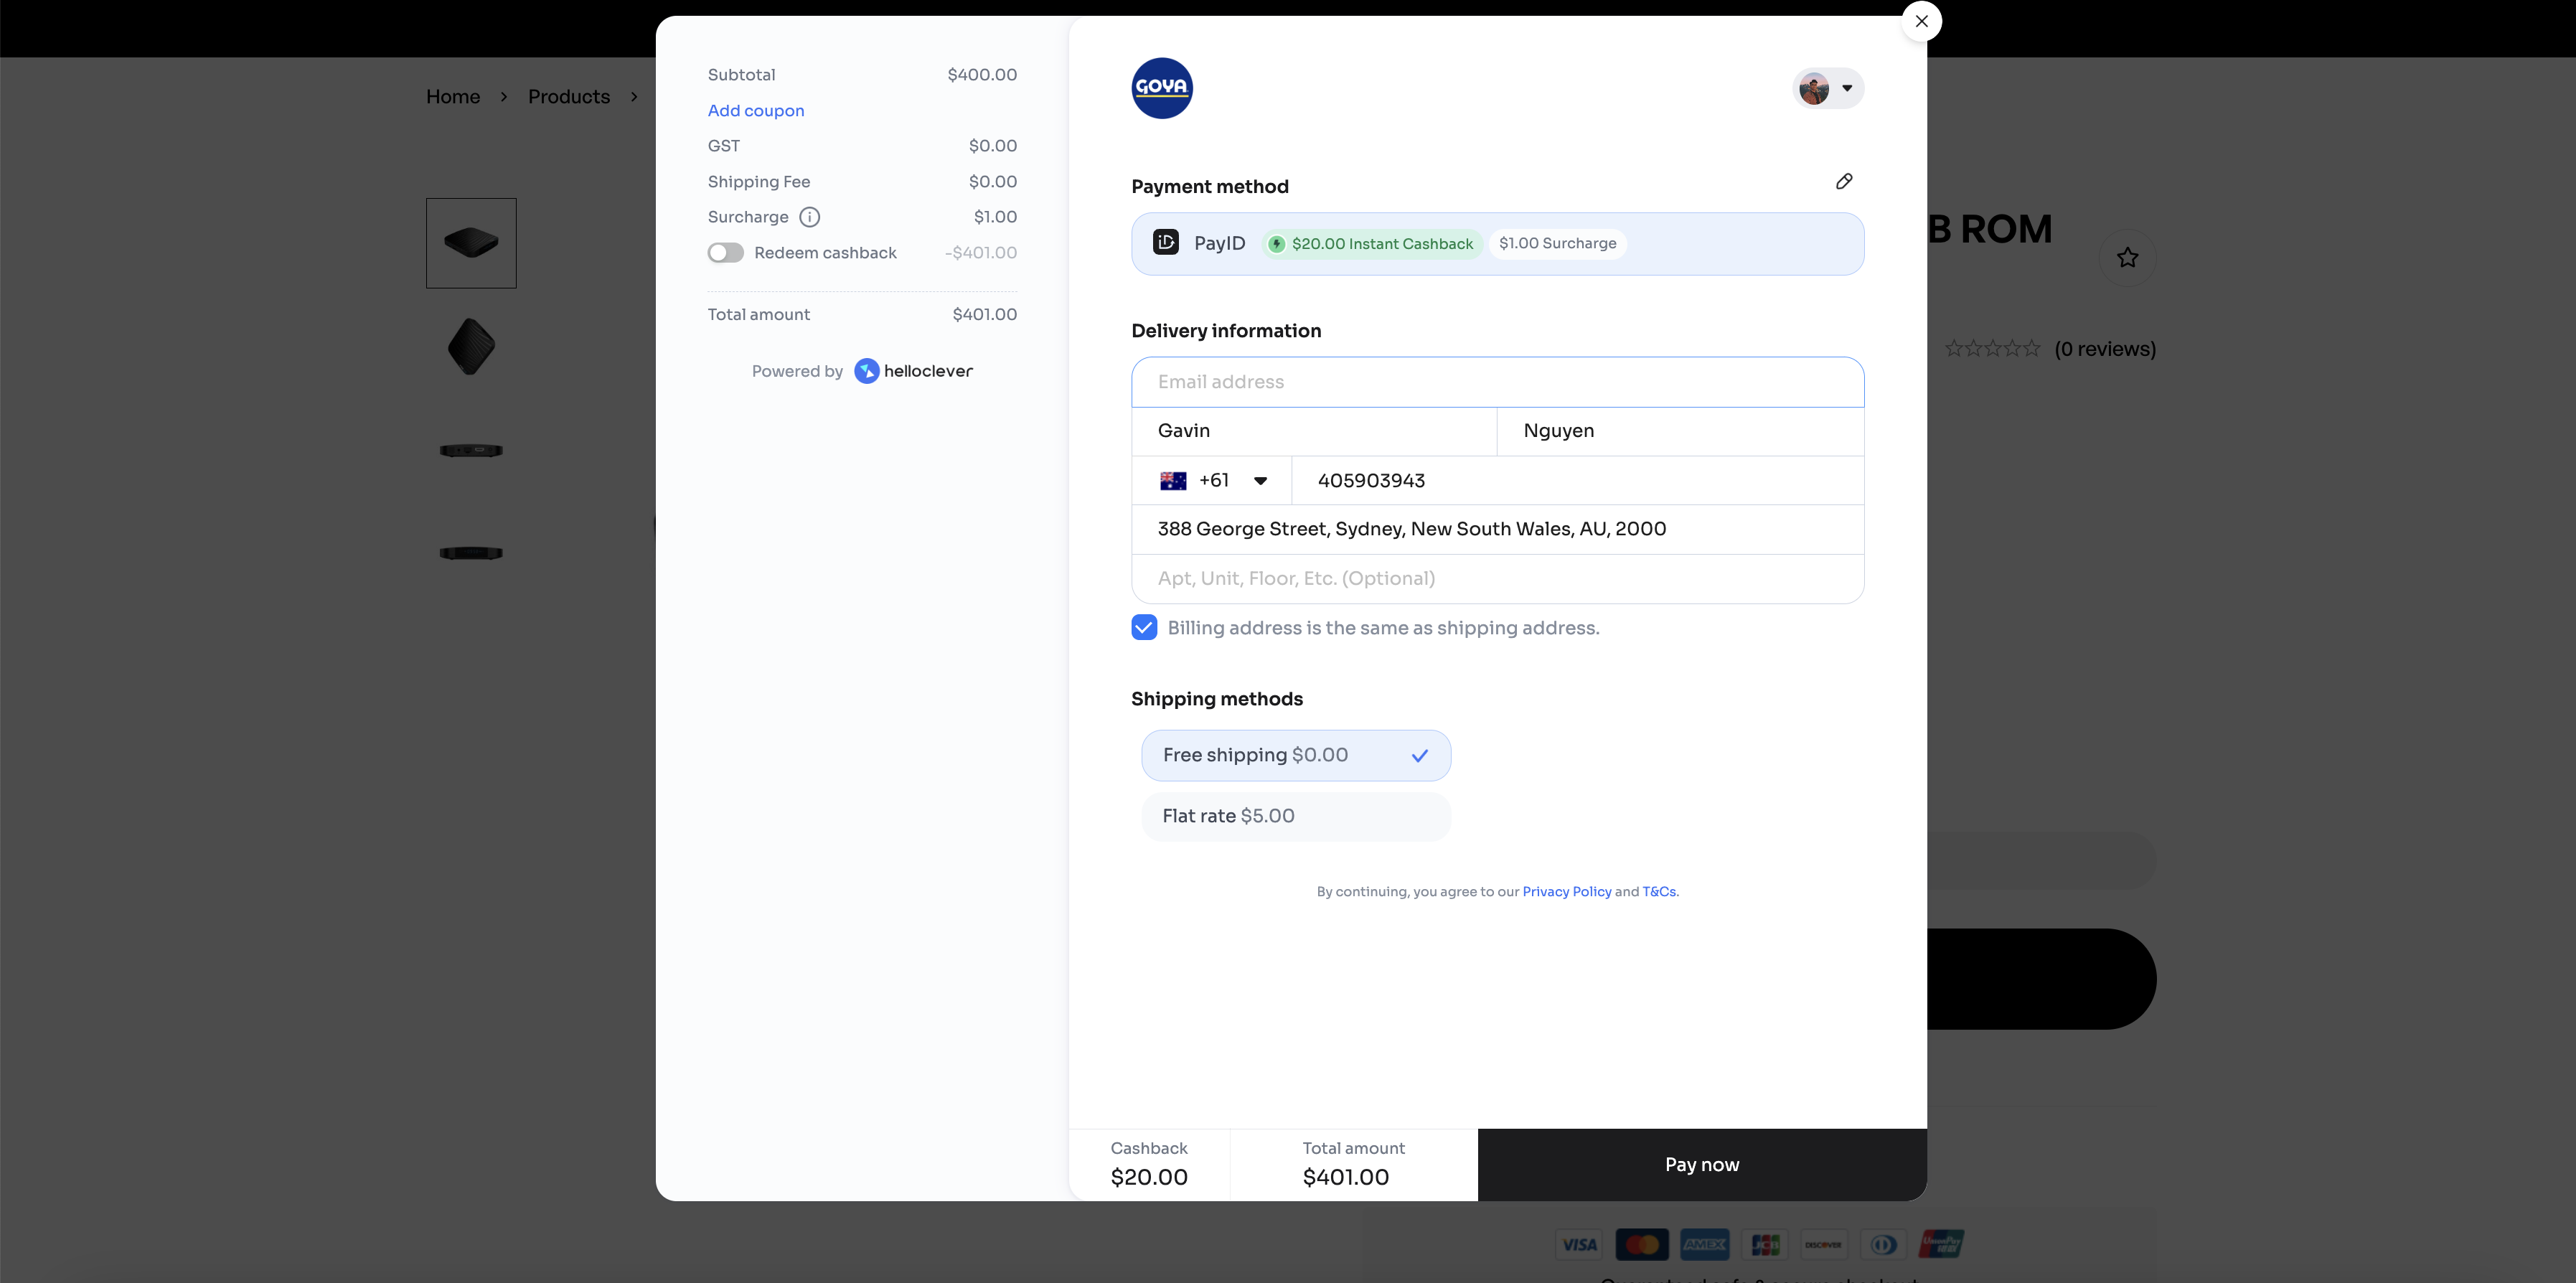
Express Checkout Popup:
Before You Begin
-
Update Plugins:
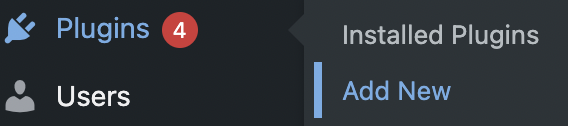
- Ensure all plugins are updated. Navigate to WordPress Admin Dashboard > Plugins to verify if updates are available. If the auto-update feature is not enabled, perform a manual update.
- A notification indicating plugin updates will appear in the Plugins section.
-
Backup Website Files:
- Take a backup of your website files and database to prevent issues during the update process.
Instructions to Turn On
Follow these steps to enable the Express Checkout feature:
-
Navigate to WordPress Admin Dashboard.
-
Go to Plugins > Installed Plugins.
-
Locate the Hello Clever Gateway for WooCommerce plugin in the plugin list.
-
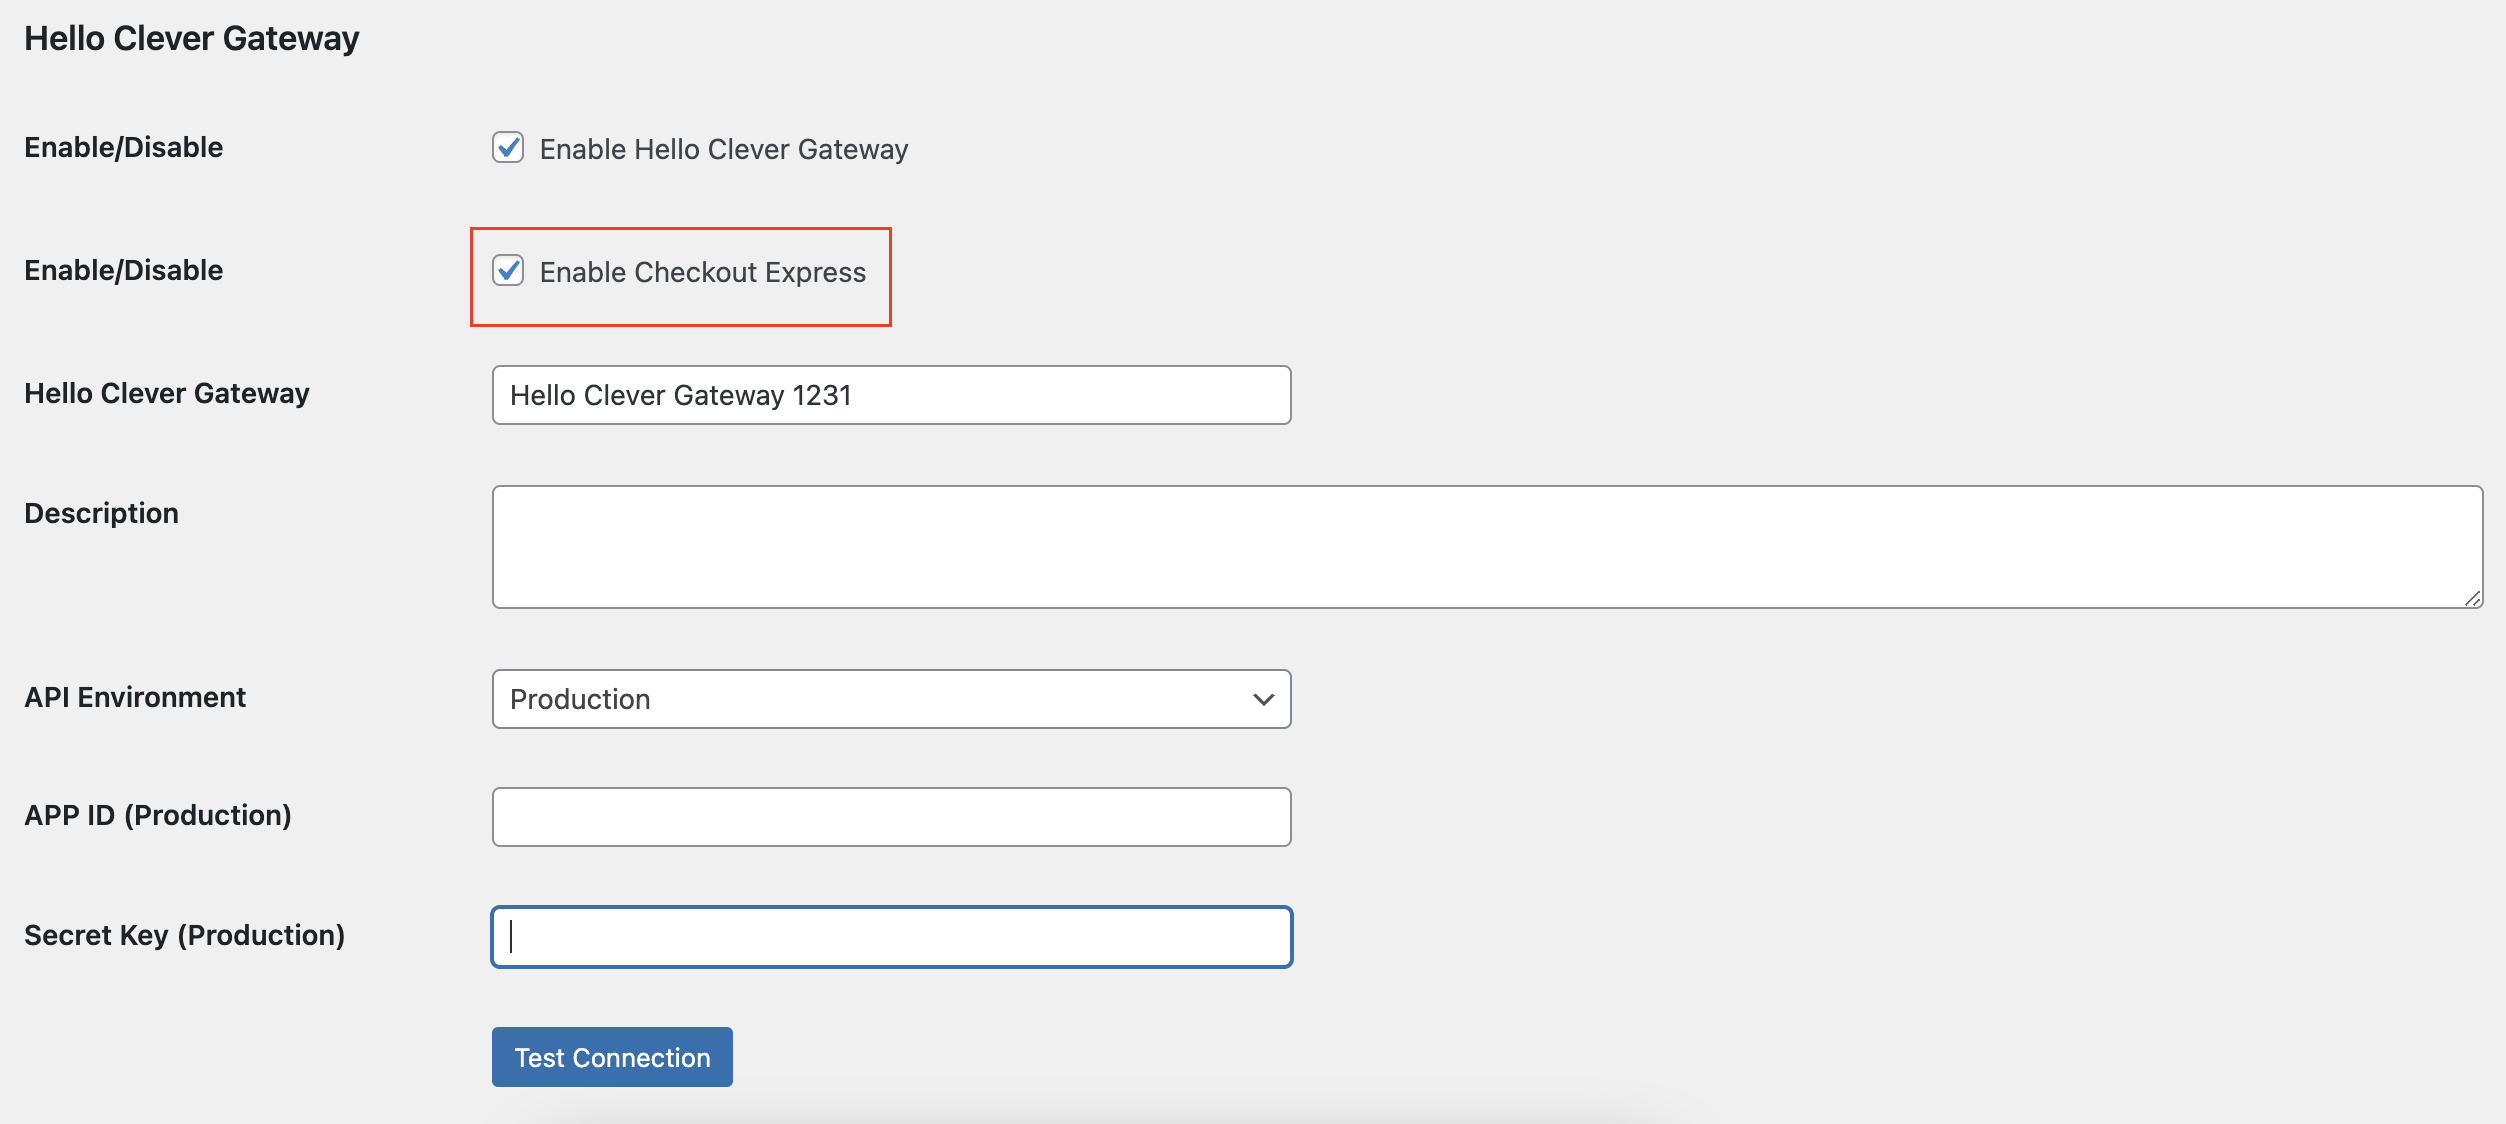
Click on Settings and navigate to the Hello Clever Gateway section.
-
Check the box to Enable Checkout Express.
-
Click on Save Changes.