Step-by-step Integration
Authentication
To integrate with Hello Clever, you must use the app-id and secret-key — these credentials are required for all integrations.
- Each site is assigned a unique
app-id, which is managed by Hello Clever. - The site type must be set as Payment API in order to activate and use these credentials.
- If you operate multiple sites or support multiple currencies, you must link each site individually to obtain the corresponding
app-idandsecret-key. - A Webhook Secret Key is issued at the merchant level. This means one webhook key is shared across all sites under the same merchant. It is used to sign every webhook request sent from Hello Clever, and your server must verify these signatures to ensure authenticity and integrity.
🔑 Tip: Always store your
app-id,secret-key, and Webhook Secret Key securely, and never expose them in client-side code.
How to link a site with a new currency
-
Contact your Hello Clever support agent or the Hello Clever support team to request new currencies integration.
-
After the requested currencies are added to your Hello Clever account, click the [CURRENCY] button at the top-right corner of the Dashboard (e.g., AUD).

-
From the list of available currencies (e.g., AUD, VND), choose the one you need.
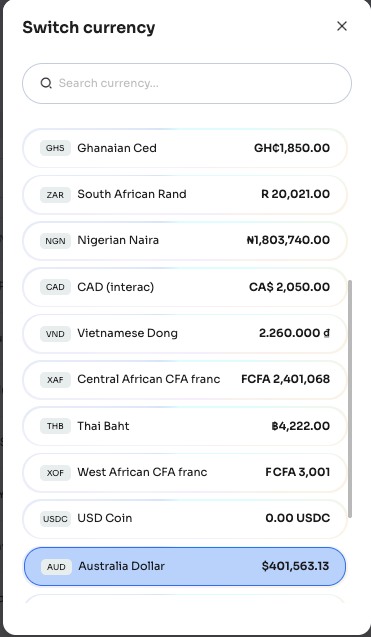
-
Switch to the selected currency.
-
Follow the integration guides to link your site for that currency.
How to add new currencies to your Hello Clever account
By default AUD currency is always enabled after creating a new Hello Clever account.
Please contact your Hello Clever support agent or the Hello Clever support team to request new currencies integration.
Integrate Multi-currency Gateway APIs
After completing all the steps above, we proceed to integrate the Multi-currency Gateway APIs.
1. Create Payment Link
Step 1: Call the List Payin Methods API to retrieve the available payment methods (when create with payin_method_code)
{
  "records": [
    {
      "currency": "MYR",
      "payin_method_code": "my_bank_duitnow_myr",
      "payin_method_name": "DuitNow",
      "logo": "https://aircrexlandingpageprod.azureedge.net/static/clever/pgv3/payment_methods/duit_now.png",
      "min_amount": 1,
      "max_amount": 9999999
    },
    {
      "currency": "MYR",
      "payin_method_code": "my_ewallet_shopeepay_myr",
      "payin_method_name": "ShopeePay",
      "logo": "https://aircrexlandingpageprod.azureedge.net/static/clever/pgv3/payment_methods/shopee_pay.png",
      "min_amount": 5,
      "max_amount": 100000000
    },
    {
      "currency": "MYR",
      "payin_method_code": "my_bank_fpx_myr",
      "payin_method_name": "FPX",
      "logo": "https://aircrexlandingpageprod.azureedge.net/static/clever/pgv3/payment_methods/fpx.png",
      "min_amount": 1,
      "max_amount": 1000000
    },
    {
      "currency": "MYR",
      "payin_method_code": "my_ewallet_grabpay_myr",
      "payin_method_name": "GrabPay",
      "logo": "https://aircrexlandingpageprod.azureedge.net/static/clever/pgv3/payment_methods/grab_pay.png",
      "min_amount": 5,
      "max_amount": 100000000
    },
    {
      "currency": "MYR",
      "payin_method_code": "my_ewallet_boost_myr",
      "payin_method_name": "Boost",
      "logo": "https://aircrexlandingpageprod.azureedge.net/static/clever/pgv3/payment_methods/boost.png",
      "min_amount": 5,
      "max_amount": 100000000
    },
    {
      "currency": "MYR",
      "payin_method_code": "my_ewallet_touchngo_myr",
      "payin_method_name": "Touch 'n Go eWallet",
      "logo": "https://aircrexlandingpageprod.azureedge.net/static/clever/pgv3/payment_methods/touchngo.png",
      "min_amount": 5,
      "max_amount": 100000000
    }
  ],
  "available_lang": [
    {
      "code": "en",
      "name": "English"
    },
    {
      "code": "ms",
      "name": "Bahasa Melayu"
    }
  ],
  "selected_lang": "en"
}
Step 2: Request the Create payment link API
{
  "amount": 10000,
  //"payin_method_code": "my_ewallet_shopeepay_myr" if you want to checkout this method only
  "payin_method_code": null,
  "description": "Test payin",
  "expire_in": 720000,
  "redirect_url": {
    "success": "https://example.com/success",
  },
  "webhook_notification": {
    "authorization_header": "Bearer N234jkd85h2h3j4hj234difu892134jh",
    "endpoint_url": "https://webhook.site/c0be9bed-d89a-4be7-b302-f00a7df62dcb"
  },
  "sender_info": {
    "email": "[email protected]",
    "first_name": "Test",
    "last_name": "Test"
  }
}
Response:
Trigger the payment_url to start the Payment Process
{
    "uuid": "Q3NT0K80",
    "payment_url": "https://paylink.cleverhub.co/UTNOVDBLODA",
    "expired_at": "2025-09-11T16:30:02.712Z"
}
Your server will receive real-time notifications when payment status changes:
→ Configure Payment Link Webhooks
This ensures your application can respond immediately to payment events and update order status accordingly.
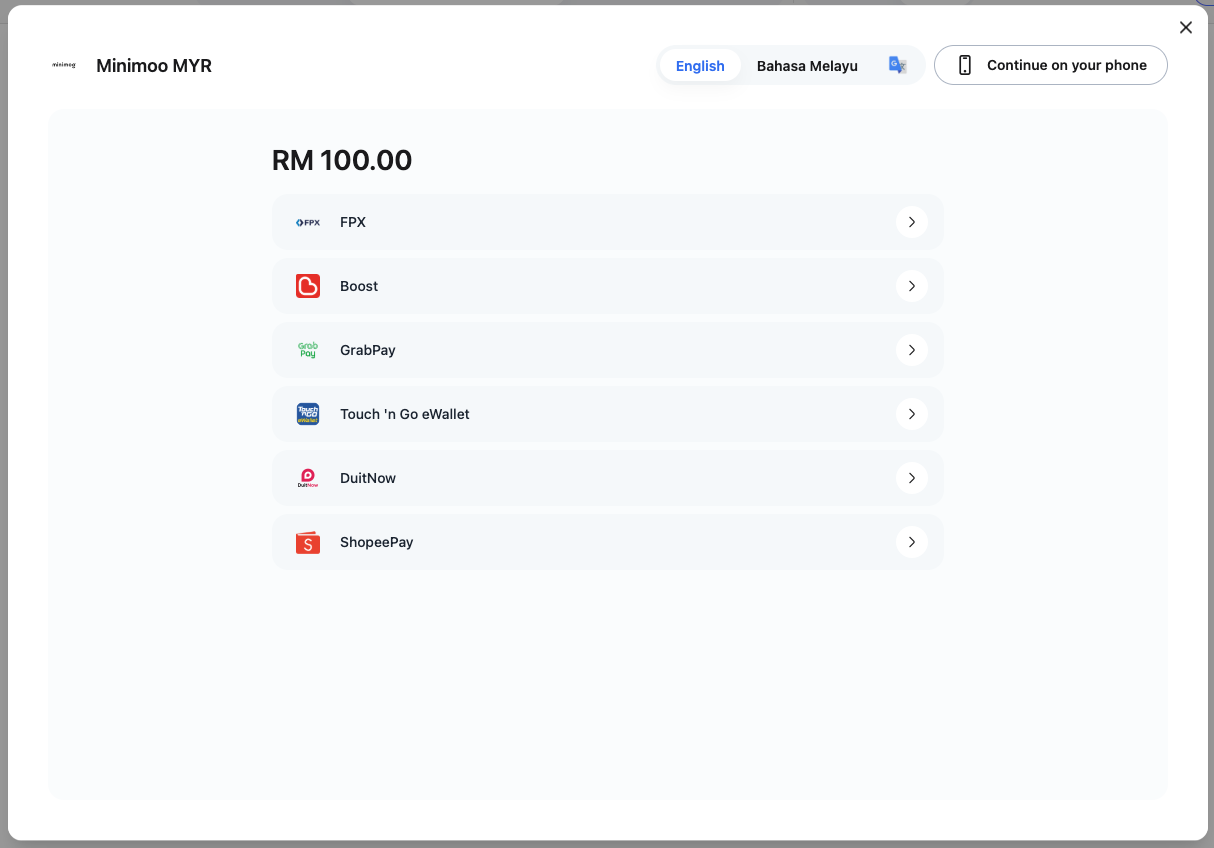
2. Payment Flow from End-User's view
Step 1: Select Payment Method
Step 2: Fill in the form fields
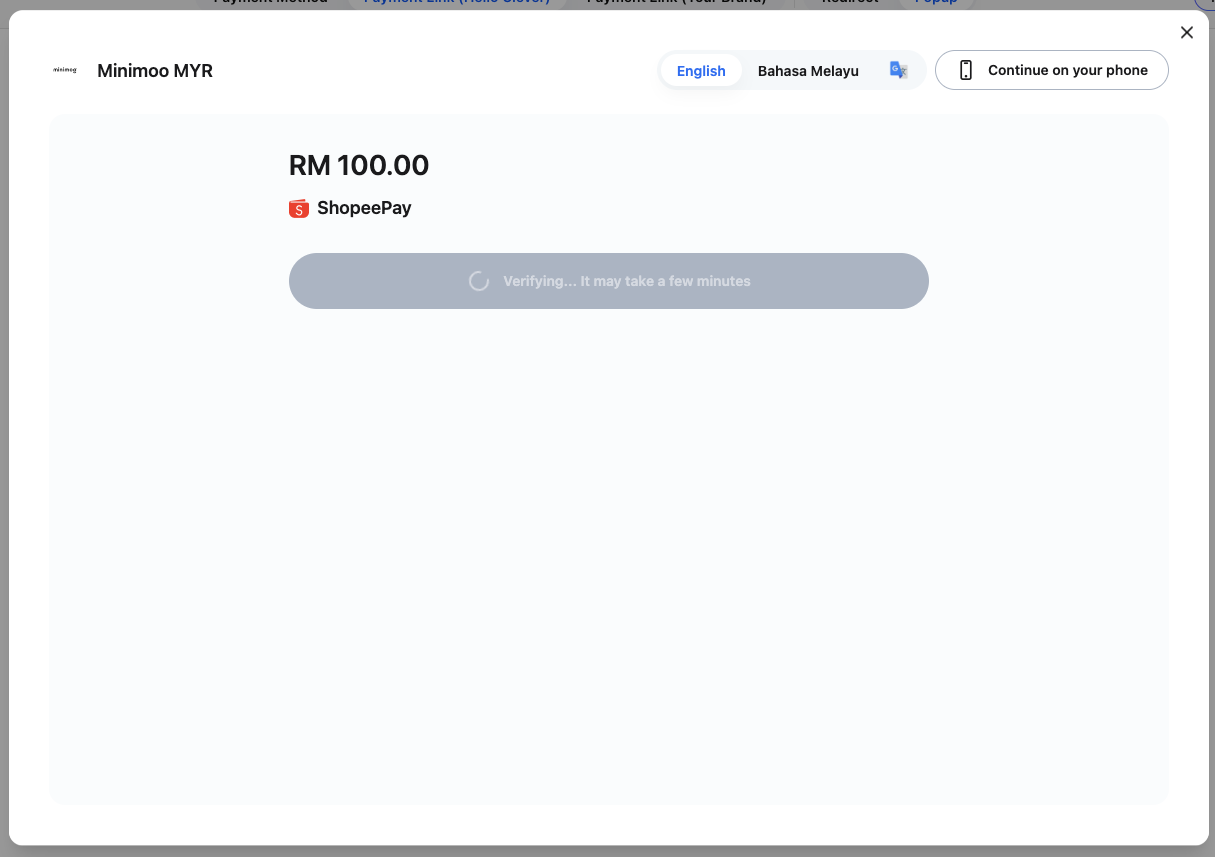
Step 3: Waiting for the checkout screen
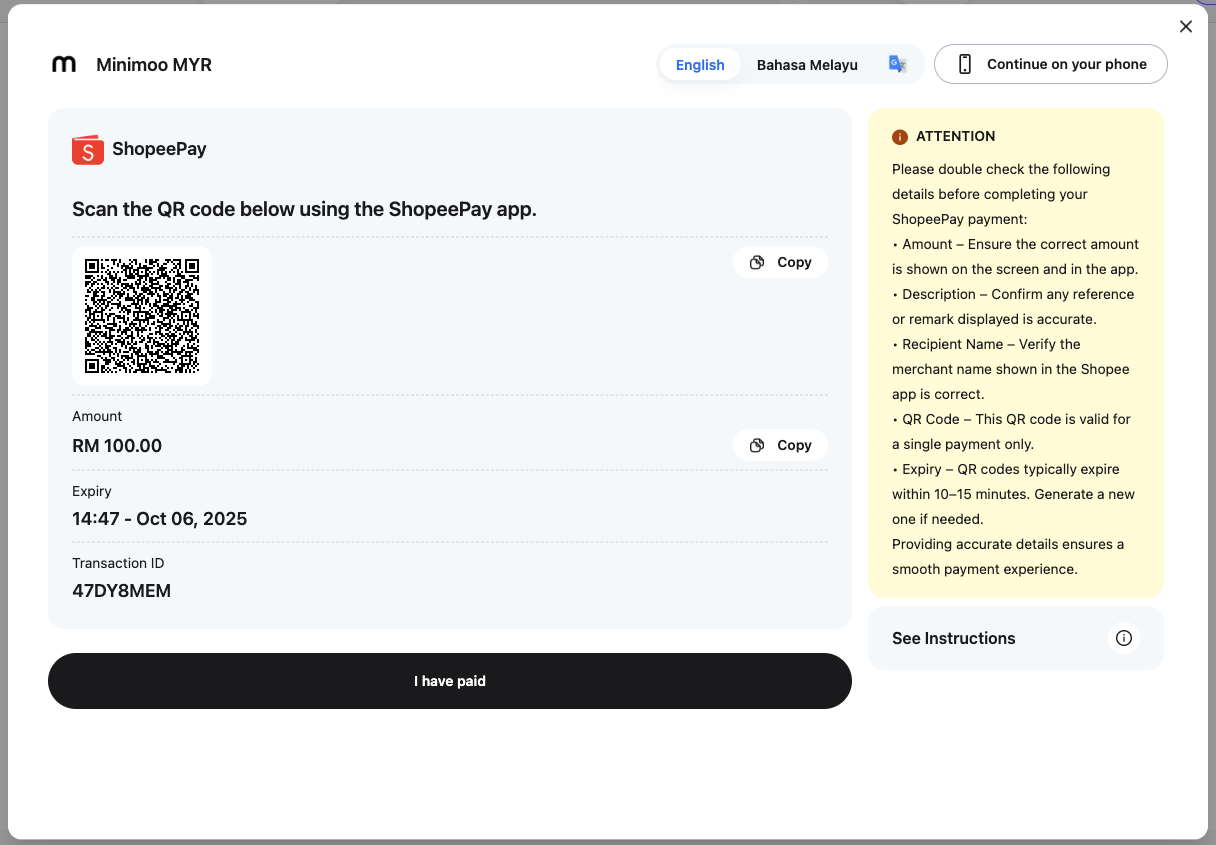
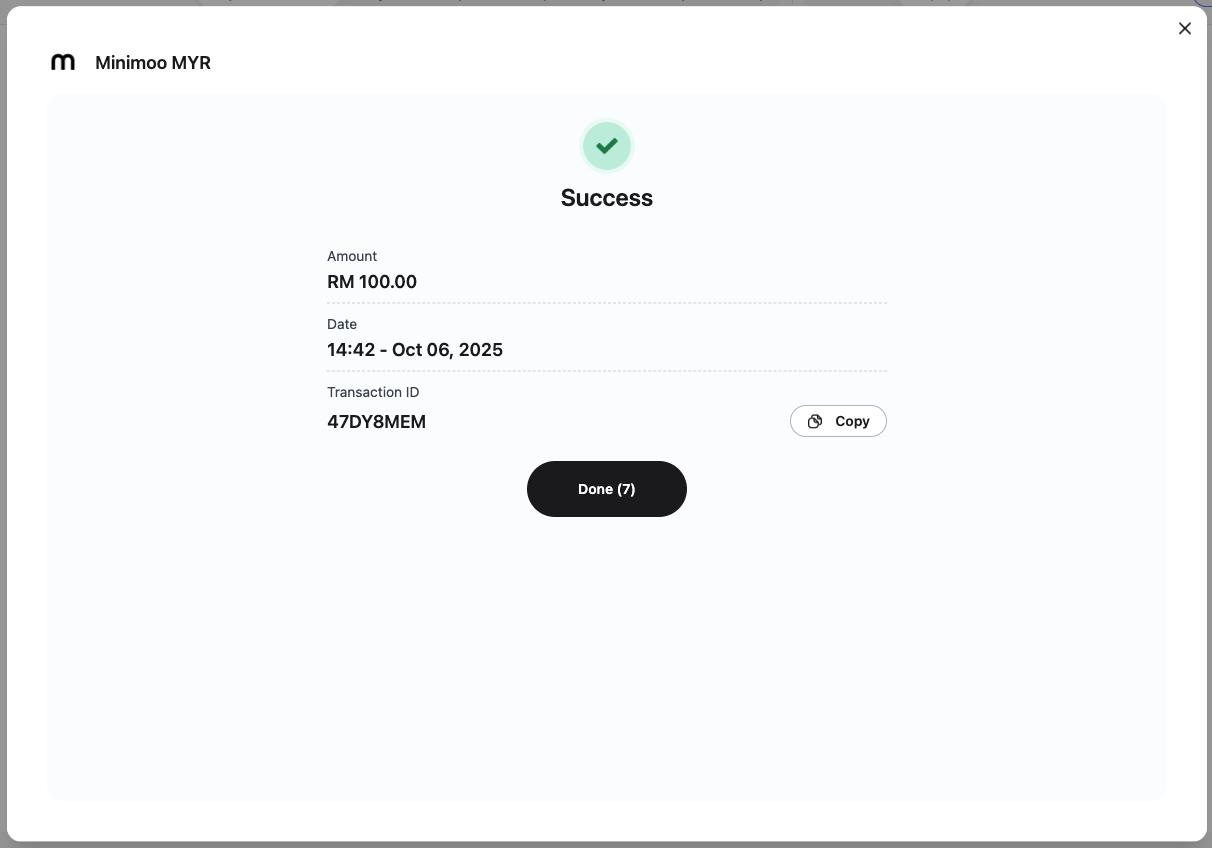
Step 4: Completed payment
3. Sandbox Payment Simulator
For testing purposes, you can simulate payment transactions without real money: